VEXBridge
VEXBridge is very much a work in progress, as in, it doesn't work yet (mostly). This documentation is mostly to get something started for the final documentation, and to retain some knowledge if all the team's programmers get hit by a bus.
VEXBridge is a system to display data and debug robots using a web dashboard, eventually wirelessly. See the VEXBridge repository for installation and setup information.
It is able (in theory) to transfer variables to and from an SBC such as a Raspberry PI, allowing for offloading computation-expensive tasks (vision, etc.) and interfacing with non-vex sensors (spi, i2c, etc.).
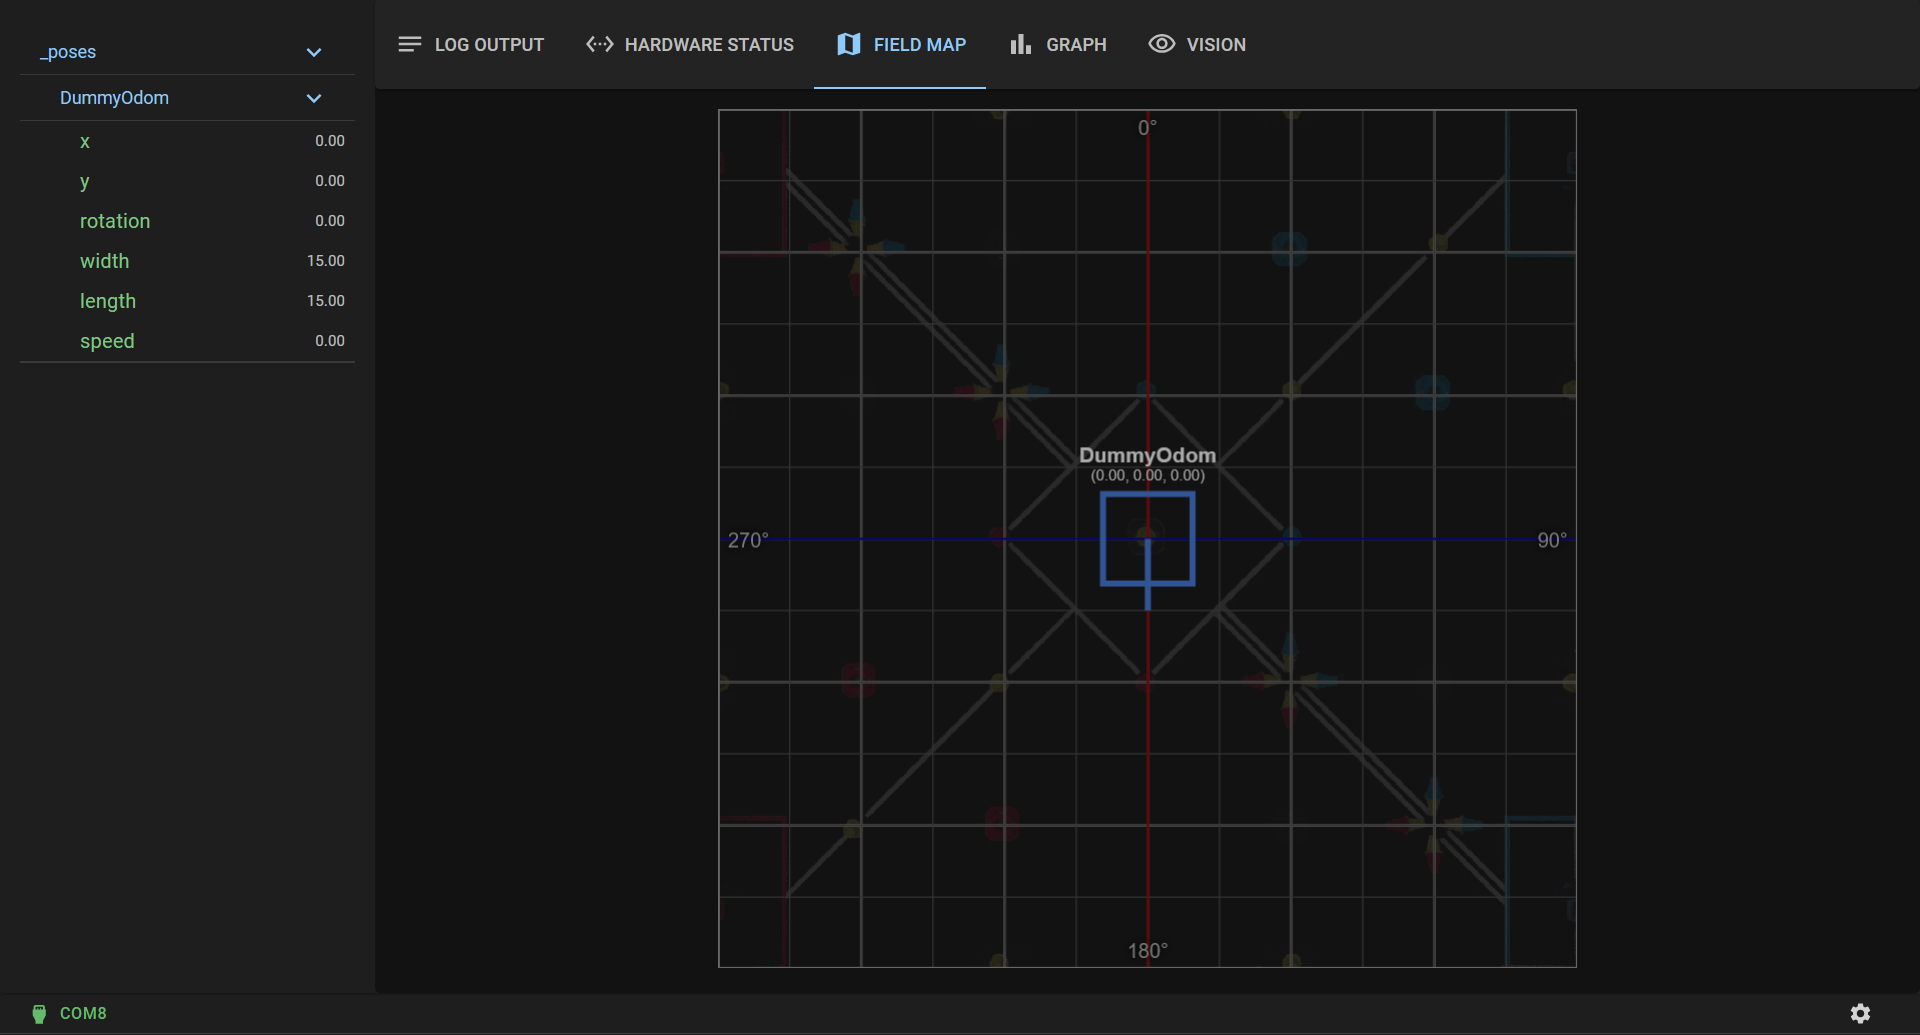
Use Over USB
It would appear that VEXBridge sort of hijacks the usb connection to the brain, preventing code uploads from working while connected. If you want to upload code, unplug the brain, stop VEXBridge, restart the brain, and try again.
The web interface should automatically recognize and connect to a VEX brain plugged into the computer. If not, select a port on the bottom left.
The web interface can display the serial log, but that's not special. To graph values and see a live display of the robot's position on the field, VEXBridge needs to be added to your code.
// Create a VEXBridge object
VEXBridge bridge = VEXBridge();
// Dummy Chassis for odom
DummyChassis dummyChassis = DummyChassis();
// Odom currently crashes the brain for some reason. VBOdom allows the robot's positon to be displayed on the "Field" tab in the web interface.
VBOdom dummyOdom = VBOdom("DummyOdom", dummyChassis);
// Create a VEXBridge value labelled "test" and initialized as 4. Supported data types are bool, int, float, double, and string.
VBValue<float> someVal = VBValue("test", 4.0f);

void opcontrol() override
{
    while (true)
    {
        // Update the value continuously. VBValues can be graphed on the web interface by selecting them from the left hand side.
        someVal.set(mainController.leftY);
    }
}
Use Wirelessly
Nobody knows